Why Robot Arms Are the Best Way to Learn Python
Most kids start Python with "Hello, World!" on a screen and lose interest by lesson three. Robot arms change everything. Write arm.move(shoulder=45) and the arm physically rotates 45 degrees. The feedback is immediate, visual, and physical — no abstraction gap.
For bilingual kids in Puerto Rico, this is especially powerful. When brazo.mover(hombro=45) and arm.move(shoulder=45) produce the exact same physical result, they internalize that programming languages are just another set of rules — like English and Spanish.
What You Need
Hardware: A programmable 4–6 DOF robot arm ($50–$150) with USB connection and Python library, plus any computer running Windows, Mac, or Linux.
Software (all free): Python 3.x from python.org, Thonny IDE (beginner-friendly editor) from thonny.org, and the robot arm's Python library installed via pip.
Workspace: Clear 3 feet of open space in front of the arm. Tape the base to the table with painter's tape to prevent walking during movement.
Setting Up the Environment (35 Minutes)
- Install Python from python.org. Critical: Check "Add Python to PATH" during installation. Verify in the terminal:
python --versionshould showPython 3.12.x. - Install Thonny from thonny.org — it auto-detects Python and gives a clean editor-on-top, shell-on-bottom interface.
- Install the arm library via Thonny's terminal:
pip install [your-arm-library](e.g.,pydobotfor Dobot,pyserialfor serial-controlled arms). - Connect and test — plug in via USB and run a quick position read to confirm the connection works.
Do this setup before your kid sits down. The first session should be building, not troubleshooting.
Program 1: "Wave Hello" — Basic Movement (30 min)
The arm waves: wrist up, wrist down, repeat. Simple, visual, satisfying.
# Wave Hello / Saluda con la Mano
import time
from arm_library import RobotArm
arm = RobotArm(port='COM3')

arm.move(shoulder=0, elbow=90, wrist=0)
time.sleep(1)

for i in range(4):
    arm.move(wrist=30)     # Wrist up / Muñeca arriba
    time.sleep(0.5)
    arm.move(wrist=-30)    # Wrist down / Muñeca abajo
    time.sleep(0.5)

arm.move(shoulder=0, elbow=0, wrist=0)
print("Done! / ¡Listo!")
Key concepts: arm.move() sends the arm to a position. time.sleep(0.5) pauses so you see the motion. range(4) repeats 4 times — change to 10 for 10 waves. Let them experiment with angles and timing.
Program 2: "Pick and Place" — Coordinates and Gripper (45 min)
The arm picks up a small object (bottle cap, LEGO brick) from one spot and places it in another using X/Y/Z coordinates and gripper control.
# Pick and Place / Recoger y Colocar
import time
from arm_library import RobotArm
arm = RobotArm(port='COM3')

pickup = {'x': 150, 'y': 0, 'z': 20}   # Object location / Ubicación del objeto
dropoff = {'x': 0, 'y': 150, 'z': 20}   # Destination / Destino
safe_z = 80                               # Travel height / Altura de viaje

arm.move(x=pickup['x'], y=pickup['y'], z=safe_z)  # Above object / Sobre el objeto
time.sleep(0.5)
arm.move(z=pickup['z'])       # Lower / Bajar
arm.grip(True)                # Grab / Agarrar
time.sleep(0.5)
arm.move(z=safe_z)            # Lift / Levantar
arm.move(x=dropoff['x'], y=dropoff['y'])  # Move to destination / Mover al destino
arm.move(z=dropoff['z'])      # Lower / Bajar
arm.grip(False)               # Release / Soltar
arm.move(x=0, y=0, z=safe_z)
print("Object moved! / ¡Objeto movido!")
Key concepts: Dictionaries store named coordinates. Safe height prevents travel collisions — same concept factory arms use. Sequence matters: grip before lowering = grab air.
Explore: "Add a third position. Pick from A, place at B, pick from B, place at C."
Program 3: "Drawing a Shape" — Loops and Math (60 min)
The arm traces a square in the air, then draws a circle using trigonometry. Math becomes physical.
# Draw Shapes / Dibujar Figuras
import time, math
from arm_library import RobotArm
arm = RobotArm(port='COM3')

center_x, center_y, size, height = 150, 0, 60, 50
half = size / 2
corners = [
    (center_x - half, center_y - half),
    (center_x + half, center_y - half),
    (center_x + half, center_y + half),
    (center_x - half, center_y + half),
]

# Draw square / Dibujar cuadrado
for i, (x, y) in enumerate(corners):
    arm.move(x=x, y=y, z=height)
    time.sleep(0.3)
arm.move(x=corners[0][0], y=corners[0][1], z=height)
print("Square complete! / ¡Cuadrado completo!")

# Draw circle / Dibujar círculo
radius, steps = 40, 36
for step in range(steps + 1):
    angle = (2 * math.pi * step) / steps
    arm.move(x=center_x + radius * math.cos(angle),
             y=center_y + radius * math.sin(angle), z=height)
    time.sleep(0.1)
print("Circle complete! / ¡Círculo completo!")
Key concepts: Lists of tuples store coordinate pairs. cos and sin calculate circle points — change radius for size, change steps for smoothness. Trigonometry made physical.
Explore: "Change the square to a triangle. Try a pentagon. Can you make a star?"
Bilingual Resources
- Code.org — Block coding + Python, fully available in Spanish
- Khan Academy Computing — Bilingual video lessons
- "Python for Kids" by Jason Briggs and "Invent Your Own Computer Games with Python" by Al Sweigart (free online)
- Puerto Rico local: PR Science, Technology & Research Trust (STEM grants), UPR Mayagüez STEM outreach, San Juan maker spaces
Tips for Parents
- Facilitate, do not lecture. When something breaks, ask "What did you expect?" — debugging is 80% of learning.
- Celebrate the physical result over code elegance.
- Keep sessions to 45–60 minutes. End while engaged. "We will add the circle next time" beats exhaustion.
- Connect to the real world — factory arms, surgical robots, the ISS all use the same commands.
Bottom Line
A $50–$150 robot arm, a free Python editor, and a weekend afternoon. That is all it takes. The arm makes code real. The bilingual approach makes concepts stick in both languages. And the Saturday morning spent building together, café con leche in hand? That is the part they will remember longest.
Written by
BoriBots Team
Based in Rincón, Puerto Rico. Testing robots in Caribbean heat, humidity, and salt air so you don't have to. Writing about what actually works for island life.
Frequently Asked Questions
Quick answers to common questions about this topic.
Ages 12 and up can handle text-based Python with a robot arm. Younger kids (10–11) can start with block-based programming that controls the same hardware, then transition to Python when they are comfortable with typing and basic math.
No. This guide is written for parents with zero coding experience. Each program is provided line by line with explanations in plain English and Spanish. You learn alongside your kid — which is actually the best way to model learning behavior.
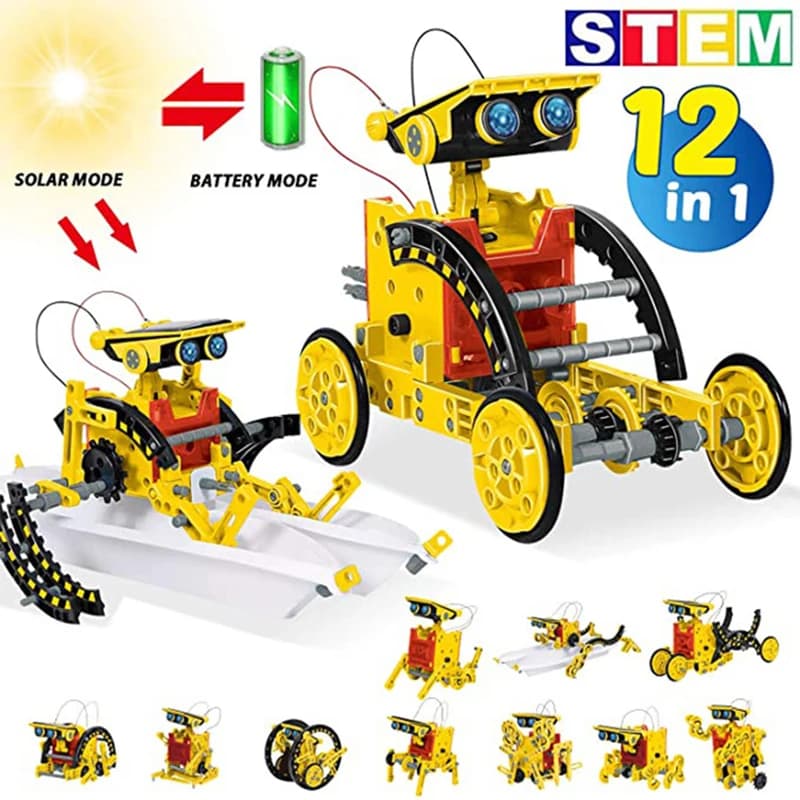
Beginner robot arms suitable for learning Python range from $50–$150. They typically have 4–6 degrees of freedom (joints), USB or Bluetooth connection to a computer, and a Python library for control. Avoid toy-grade arms under $30 — they lack programmable interfaces.
Shop Stem Robots


Keep Reading
View all articles5 Weekend Robot Projects for Bilingual Kids
From a line-following bot to a weather station, here are five hands-on robot projects that bilingual kids ages 8–16 can build over a weekend. Each one teaches real coding skills in English and Spanish.
stem educationBilingual STEM Robot Kits: A Parent's Guide
Your kid speaks two languages. Now a third: code. Here's how to pick the right STEM robot kit for bilingual kids ages 6-16.